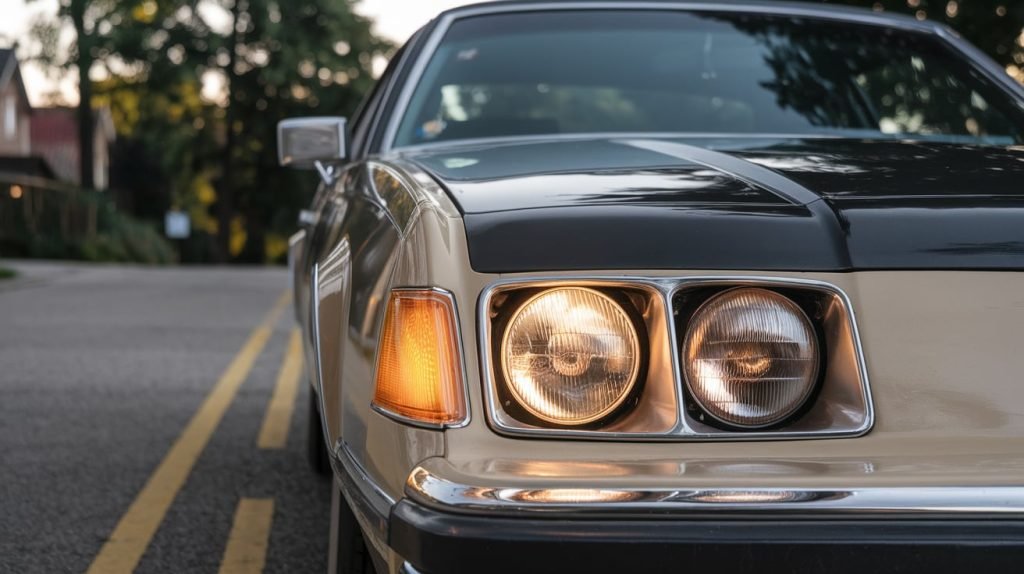
Flickering headlights usually point to unstable voltage, a poor connection, a failing bulb or driver, or a fault inside one lamp. If both lights pulse with engine speed, test the charging system and main grounds. If one side flickers, start with that bulb, connector, ballast or LED driver. Do not continue a night journey when light output drops, both lamps cut out, wiring smells hot, or the battery warning appears. Leave traffic safely and arrange assistance.
What the Flicker Pattern Tells You
The number of affected lamps, engine speed, road vibration and recent electrical work help narrow the circuit before parts are replaced.
| Pattern | Likely area | Next test | Priority |
|---|---|---|---|
| One headlight | Bulb, socket, ballast, driver or local ground | Compare both lamp circuits | Avoid night driving |
| Both pulse with engine speed | Alternator, regulator, battery connection or main ground | Measure charging voltage and ripple under load | High if warnings appear |
| Flicker over bumps | Loose connector, wire or internal lamp fault | Inspect and perform a controlled harness test | Repair before night use |
| Only after LED upgrade | Compatibility, driver, coding or installation | Confirm approved lamp type | Return to a compatible setup |
| Dashboard pulses too | Shared supply or ground | Test battery, alternator and voltage drop | Charging-system concern |
Why Headlights Flicker While Driving
A loose battery terminal, corroded ground or damaged connector can interrupt current. A charging fault can make voltage rise and fall. Halogen filaments can fail intermittently. HID systems add a ballast and igniter. LED lamps use electronic drivers that may react to pulse-width modulation, coding or incompatible retrofit parts.
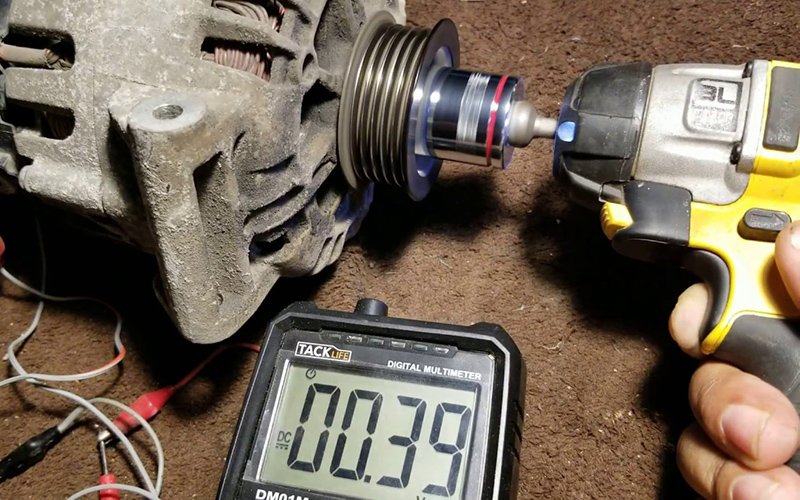
Do not assume the battery is faulty because the lights pulse. Starting ability and stable voltage under load are separate tests. An alternator can also appear normal at idle but show unstable output when the lights, air conditioning and cooling fans operate.

Common Causes of Flickering Headlights
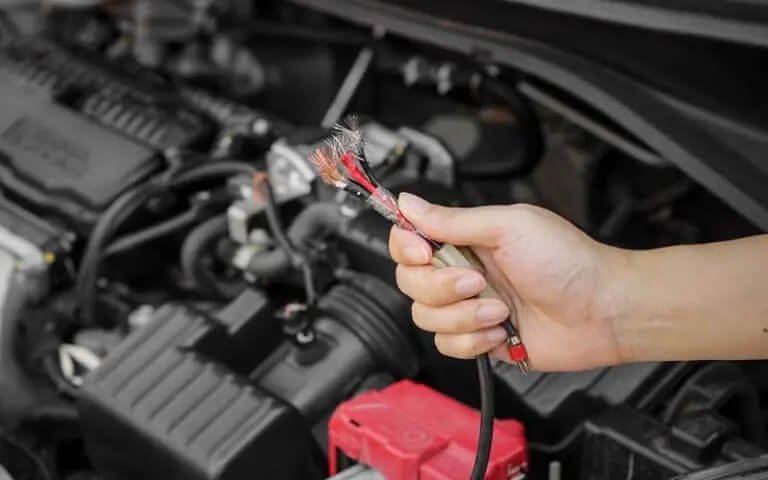
Loose or corroded connection
Resistance at a terminal, ground, connector or fuse contact can cause voltage loss and heat.
Alternator or regulator fault
Output may be low, high or unstable. Loaded voltage and diode ripple should be measured.
Bulb or socket damage
A failing filament, overheated terminal or loose bulb fit often affects one lamp.
HID ballast or igniter problem
Cutout can come from the bulb, ballast, igniter or supply. High voltage requires care.
LED driver incompatibility
Retrofit LEDs may not match the vehicle’s monitoring or dimming strategy.
Harness or module fault
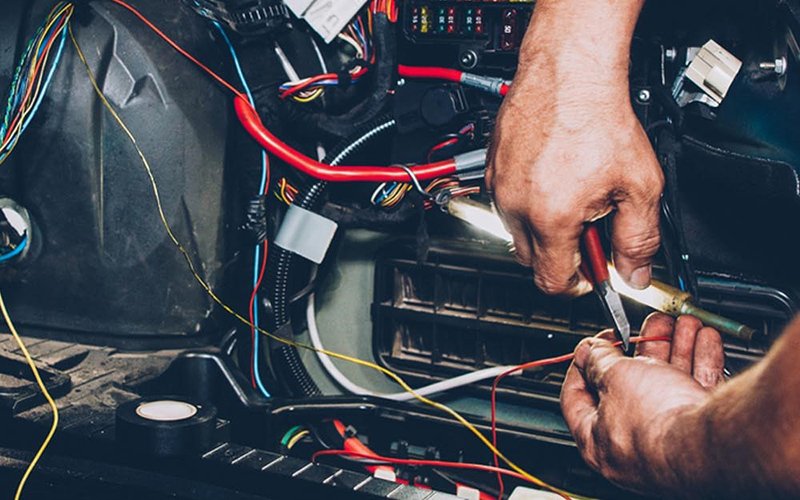
Broken wires, water, a relay or lighting module may interrupt the command.
Is It Safe to Drive With Flickering Headlights
A short daytime trip may be possible when both lamps remain illuminated, no charging warning is present, the engine runs normally and the route does not require headlights. That is a limited decision, not proof the fault is harmless.
Stop when both lights cut out, the battery symbol appears, steering or dashboard electronics change, the engine stalls, wiring smells hot, a connector melts, or night visibility falls. A charging failure can stop the engine. A short circuit can damage wiring.
How a Workshop Diagnoses Headlight Flickering
- Confirm whether one lamp, both lamps or other systems flicker.
- Record whether it happens at idle, under load, over bumps or after warm-up.
- Inspect the bulb, socket, connector, fuse contact and local ground.
- Check battery condition, terminals and main ground voltage drop.
- Measure charging voltage at idle and under load.
- Test alternator AC ripple when diode trouble is possible.
- Scan lighting and body modules for relevant faults and live data.
- Confirm bulb, ballast, LED driver and coding compatibility.
- Repair the verified fault and retest under the same conditions.
A single voltage reading is not a complete alternator diagnosis. Modern smart-charging systems deliberately vary voltage, so results must be compared with model-specific information.
One Flickering Headlight Versus Both
One-side flicker usually directs attention to that bulb, connector, ground, ballast, driver or assembly. When both lamps pulse together, test what they share: battery connections, charging supply, main grounds and lighting commands.
If interior lights and the instrument panel pulse too, record it. That shifts the diagnosis away from one headlamp. Replacing two bulbs may hide a symptom briefly without correcting the supply fault.
LED and HID Headlight Flickering
| System | Common fault area | Do not assume |
|---|---|---|
| Halogen | Filament, socket, ground or supply | A bulb fixes a melted connector |
| Factory HID | Bulb, ballast, igniter, water or supply | Color change proves ballast failure |
| Factory LED | Driver, module, cooling, wiring or assembly | The LED element is separately replaceable |
| Retrofit LED | Fitment, driver, heat, monitoring or coding | A resistor is always safe |
Factory LED, retrofit LED and HID systems require different tests. Resistors can become hot and should not be used as a universal cure. Confirm compatibility before changing coding or hardware.
Flickering Headlight Repair Cost in Dubai
These are AutoRepairUAE planning prices. The total changes with lamp technology, access, parts, coding and whether the fault is local or part of the charging system.
| Scope | Price range | Typical inclusion |
|---|---|---|
| Lighting diagnosis | AED 150 to 350 | Symptom confirmation and basic circuit checks |
| Bulb or connector repair | AED 100 to 500 | Compatible bulb or localized connector work |
| Ground or wiring repair | AED 250 to 1,200 | Fault tracing and localized correction |
| HID ballast or igniter work | AED 500 to 2,000 | Testing and model-specific component work |
| LED driver or module work | AED 600 to 2,500+ | Module work and coding where required |
| Battery or alternator repair | Quoted after testing | Separate charging-system scope |
VAT, complete lamp assemblies, accident damage, water-damaged modules, coding and harness replacement are excluded unless listed. Do not approve an alternator from a headlight symptom alone.
What Not to Buy Before Testing
- Do not replace the battery only because lights pulse.
- Do not replace the alternator without load and ripple testing.
- Do not fit higher-output bulbs into a damaged socket.
- Do not add resistors without heat-safe installation.
- Do not replace a complete LED lamp before testing its supply and control.
- Do not buy two bulbs when one local circuit fails.
A connection repair can cost far less than an assembly. Repeated cleaning will not repair a failed sealed driver. Measured diagnosis protects the budget.
Dubai Heat, Dust and Water Entry
Heat raises lamp and under-hood temperatures. Dust can collect around connectors and cooling paths. Pressure washing or a damaged cover may introduce water. These conditions do not prove the cause, but they change the inspection.
A brief internal mist can differ from standing water. Droplets, pooling water, corrosion or repeated faults require housing and seal checks. Drying the lamp without repairing the entry path is temporary.
Checks an Owner Can Make
- Note whether one or both lamps flicker
- Watch for a battery warning
- Test low and high beams
- Record changes with engine speed
- Check whether bumps trigger it
- List recent bulb or battery work
- Look for moisture safely
- Stop if wiring smells hot
For wider electrical symptoms, see our car electrical repair service. If starting and charging symptoms occur together, see our car battery testing and replacement service.
Key Takeaway Before Approving a Repair
Match the repair to the pattern. One side points toward that lamp circuit. Both sides, dashboard pulsing or changes with engine speed point toward shared supply, charging or ground checks. Request measured results and a named failed component before buying a battery, alternator, ballast, driver or assembly.
Voltage Drop Explains Faults a Meter Can Miss
A connector can look clean and still restrict current. Resistance becomes more important when the headlights draw power, which is why technicians measure voltage drop while the circuit is operating. A simple continuity check with the lamp switched off may pass even though the same wire loses useful voltage under load.
The test compares voltage across the positive path and ground path. Results must be judged against the vehicle information and circuit design. If excessive drop appears on the ground side, attention moves to the lamp ground, body connection or main battery ground. If it appears on the supply side, the fuse contact, relay, connector, harness or control output may be involved.
This distinction prevents parts swapping. A new bulb, ballast or driver still flickers when the circuit feeding it remains unstable. It also prevents unnecessary harness replacement when the loss is isolated to one terminal.
Alternator Ripple Is Different From Low Charging Voltage
An alternator converts alternating current into direct current through rectifier diodes. A failed diode can leave excessive AC ripple in the electrical system even when average charging voltage appears acceptable. Headlights, dashboard lighting or audio equipment may pulse, and control modules can record voltage-related faults.
A workshop can view ripple with a suitable meter or oscilloscope while the alternator is loaded. The reading must be interpreted using the test equipment and manufacturer procedure. Electrical noise from other systems can be mistaken for alternator ripple, so one number should not be used without context.
Belt slip, a weak tensioner or poor alternator connection can create similar changes. The technician should inspect drive condition and measure both output and circuit voltage drop before condemning the unit.
When Flickering Begins After Other Work
Timing matters. If the problem started after a battery change, check terminal security, battery specification, sensor connections and any required battery registration. If it began after collision repair, inspect lamp mounts, harness routing and grounds near the repaired area. After engine work, look for disturbed ground straps and connectors.
When the fault follows a bulb upgrade, compare the installed part number, wattage, connector orientation and driver type with the original system. Some vehicles monitor bulb current or send short diagnostic pulses. An incompatible LED can respond visibly to those pulses even though the original halogen lamp did not.
Do not let “it started after the repair” become proof of one cause. The timing is strong diagnostic evidence, but testing should still identify the failed connection, configuration or component.
Headlight Condensation, Water and Venting
Headlamp housings are often vented because temperature and pressure change when lamps heat and cool. A light internal mist that clears can differ from standing water, droplets or corrosion. The vehicle maker’s service information should guide what is considered acceptable for that assembly.
Persistent moisture can enter through a damaged lens seam, rear cap, vent, bulb seal or collision crack. Water may reach an HID ballast mounted below the lamp or an LED driver attached to the housing. Replacing the electronic part without repairing the leak invites a repeat failure.
After sealing work, confirm that required vents remain open. Blocking them can trap pressure and moisture. Pressure washing directly at caps and seams should be avoided, particularly after a lamp has been removed or repaired.
Model Year and Lighting Technology Change the Repair
The same model badge can use halogen, HID, static LED, adaptive LED or matrix-style lighting across different years and trim levels. The lamp shape may look similar while the internal electronics, control modules and coding are different. Use the VIN, build date and installed part number before ordering components.
Adaptive systems may swivel, level or control segments according to steering, speed and camera input. Flicker can be related to a lamp driver, but a warning or unusual pattern can also involve ride-height sensors, calibration or communication faults. A basic bulb replacement is not a complete response to an adaptive-lighting error.
Imported vehicles may have different beam patterns, module versions or regional coding. Confirm compatibility before installing a used assembly. A lamp that turns on can still produce an incorrect beam or persistent warning.
Common Misdiagnoses and Better Checks
The battery must be weak
Better check: test battery condition, cranking behavior, alternator performance and voltage drop as one system.
Both bulbs are failing together
Better check: look for a shared supply, ground or command when both lamps change at the same moment.
A brighter bulb will solve dimming
Better check: inspect the socket, wiring and voltage delivered to the lamp before increasing electrical or thermal load.
An error-canceling resistor is harmless
Better check: confirm supported hardware or coding. Resistors generate heat and require safe installation if specified.
No fault code means no electrical fault
Better check: reproduce the symptom and measure the live circuit. Loose connections do not always store a code.
A new part cannot be faulty
Better check: verify part number, installation, supply and operation. New and remanufactured parts still require testing.
What to Check After the Repair
- Both low beams remain stable
- High beams operate correctly
- No battery warning is present
- Dashboard lighting stays steady
- Connectors remain cool
- No lighting fault returns
- Beam aim is checked after lamp removal
- Adaptive functions complete their test
- The symptom is retested under load
- Water entry is corrected where present
Headlight aim matters after an assembly, bulb or mounting point has been disturbed. A stable lamp can still create glare or poor road coverage when alignment is wrong. Use the vehicle procedure and appropriate aiming equipment rather than a wall estimate alone.
Keep the diagnostic result and part number. If the flicker returns only under a particular electrical load or temperature, those records shorten the next test and reduce repeated replacement.
Information to Record Before the Electrical Check
A short video of the lamps and dashboard can preserve an intermittent symptom. Record whether the engine is off, idling or moving, and list the electrical loads in use, including air conditioning, rear defogger, audio and cooling fans. Note whether the flicker changes during acceleration, braking, steering or road vibration.
Provide the vehicle model, year, VIN when available, lamp type and any recent battery, alternator, collision or bulb work. Photograph warning messages and keep replaced-part numbers. Do not stare into high-output lamps or stand in traffic to film them. Park safely and let another person observe when needed.
These details help the technician reproduce the original condition. An intermittent electrical fault that cannot be reproduced still requires inspection, but a clear pattern makes circuit testing more focused.
Book a Headlight Electrical Check in Al Quoz 4
Send the model, year, lamp type, affected side and a short video. Include any battery warning, starting issue, recent bulb change or water entry.
Flickering Headlight Questions
Why do headlights flicker during acceleration?
Engine speed can change alternator output, belt behavior and vibration. Test voltage, ripple, connections and grounds.
Can a weak battery cause flickering headlights?
Yes, but charging and connection faults can create the same symptom. Test the battery and charging circuit together.
Why does only one LED headlight flicker?
The local driver, connector, supply, ground, coding or assembly may be involved.
Can I drive during the day?
Only as a limited trip when the vehicle otherwise runs normally and headlights are not required. Stop for warnings, stalling, heat or system-wide changes.
Can moisture cause the problem?
Water can corrode connectors or damage a ballast, driver or module. Repair the entry path, not only the damp component.
Will coding stop retrofit LED flicker?
Sometimes, when the vehicle supports the lamp. Hardware incompatibility, heat and poor installation still need correction.