Bolster wear
Entry friction can remove coating, polish grain, stretch leather and compress foam. Determine whether the work is cleaning, coating repair, panel replacement or rebuilding support underneath.
Repair the affected seat, leather, stitching, headliner or trim while preserving the rest of the cabin. We document materials, color, perforation, heating, ventilation, occupancy sensors and airbag requirements, then agree a local repair, matched replacement or carefully defined restoration.
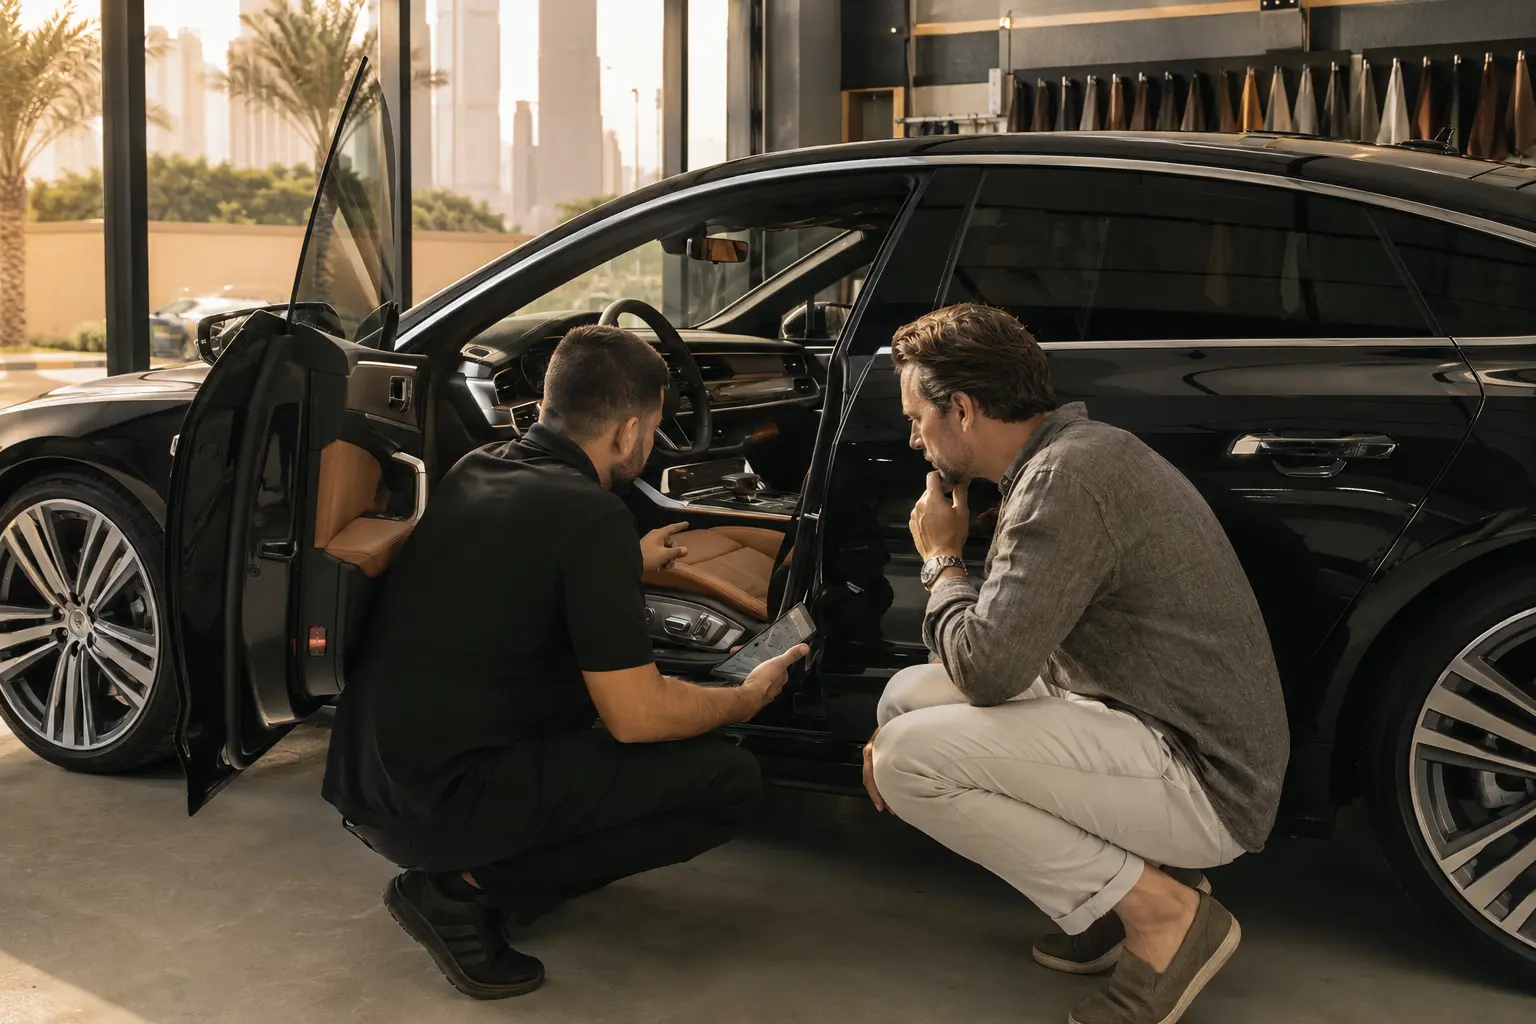
Provide the VIN, model, model year and market specification, followed by one wide photo of the cabin and close views of each affected area. Use neutral light without a beauty filter. Include a ruler or familiar object for scale where a split, burn, puncture, stain or missing surface is difficult to judge.
Describe when the damage appeared and what has touched it. List conditioners, cleaners, dyes, adhesives, steam, fragrances, disinfectants, wet extraction, child-seat use and repair attempts. A product can change color, sheen, adhesion or future coating compatibility even when it initially looks harmless.
For a seat, state whether heating, ventilation, massage, occupancy detection, electric adjustment, memory or a side airbag is fitted. Report every warning light. For roof trim, mention sunroof or panoramic-roof operation, water entry, drainage work and whether the fabric moves only in heat.
This page owns interior upholstery repair. Mechanical Audi repair, air-conditioning performance, exterior dent removal, collision structure and generic detailing remain separate services.
A local cosmetic repair, stitched panel, replacement cover, foam correction and full retrim are not interchangeable. The visible defect and the condition below it determine what can be promised.
Use these estimated ranges to plan the likely cost. The exact model, material or parts specification, access and confirmed condition determine the written quotation after the free workshop inspection.
| Service | Estimated price | What the range covers |
|---|---|---|
| Leather panel repair | AED 350–700 | Per panel for localized cleaning, filling, color matching and finishing where the leather remains repairable. |
| Seat bolster repair | AED 650–1,200 | Per bolster for surface preparation, localized leather repair or replacement and color finishing. Foam rebuilding is separate when needed. |
| Headliner replacement | AED 1,200–2,500 | Removal, suitable headliner material, installation and refitting for common Audi cabin sizes. Sunroof complexity can change the total. |
| Steering-wheel retrim | AED 650–1,200 | Removal where appropriate, leather retrim, stitching and refitting. Heated controls and trim damage are quoted separately. |
| Full seat upholstery | AED 1,800–3,500 | Per seat for material, stitching and installation. Airbag seams, heating, ventilation and foam condition affect the quotation. |
Need a more specific price? Send the model, year and service or problem. We can narrow the likely scope and arrange free pickup and delivery when required.
Audi Middle East lists leather, interior-plastic and related trim work among its body-repair services. Warranty decisions, official parts, service records and approved methods belong to authorized centres; this workshop operates independently.
| reported problem | What the independent workshop can do | official service network |
|---|---|---|
| Possible warranty defect | Photograph untouched condition and avoid irreversible preparation. | Audi partner determines coverage and approved remedy. |
| Seat-airbag or restraint area | Do not improvise stitching, seams or coverings in a safety-critical zone. | Use supported parts and procedures through a competent authorized path. |
| Replacement trim identity | Verify visible codes, dimensions and options before ordering. | Dealer confirms VIN-linked part supersession and genuine supply. |
| Independent cosmetic repair | Agree sample, appearance limits, care and work included. | Owner confirms any warranty or resale implications. |
| Recall or campaign | Do not claim to perform or close a manufacturer action. | Authorized network checks and records VIN-specific work. |
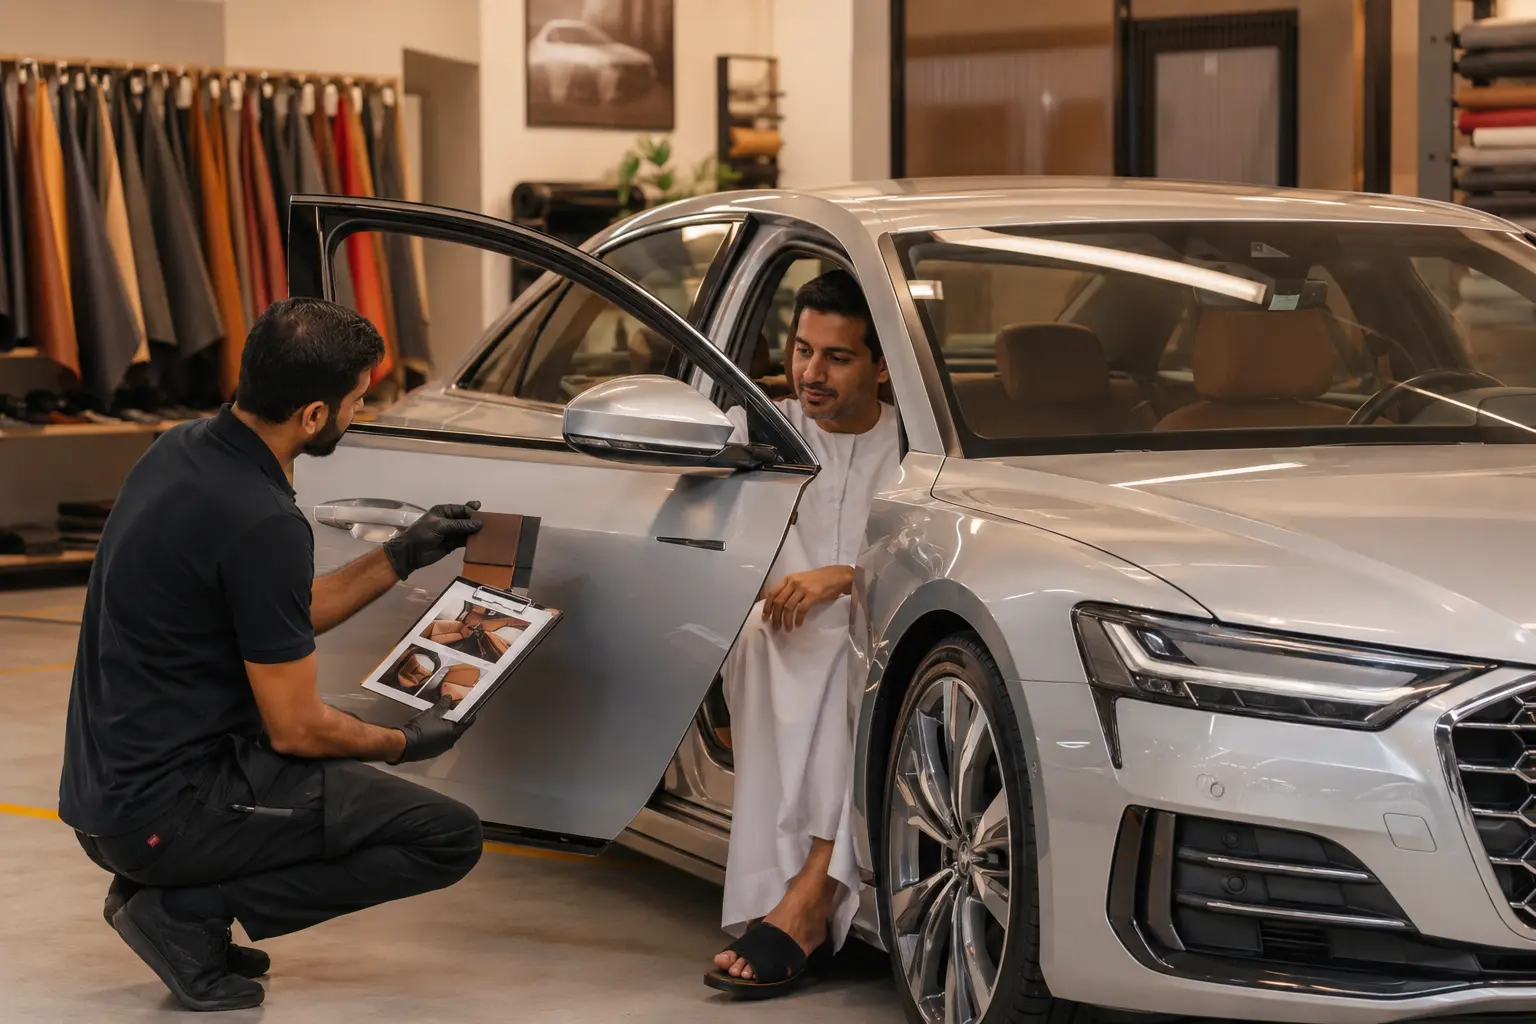
Original workshop scenes make the seat repair, headliner inspection and material handover visible without implying Audi authorization.
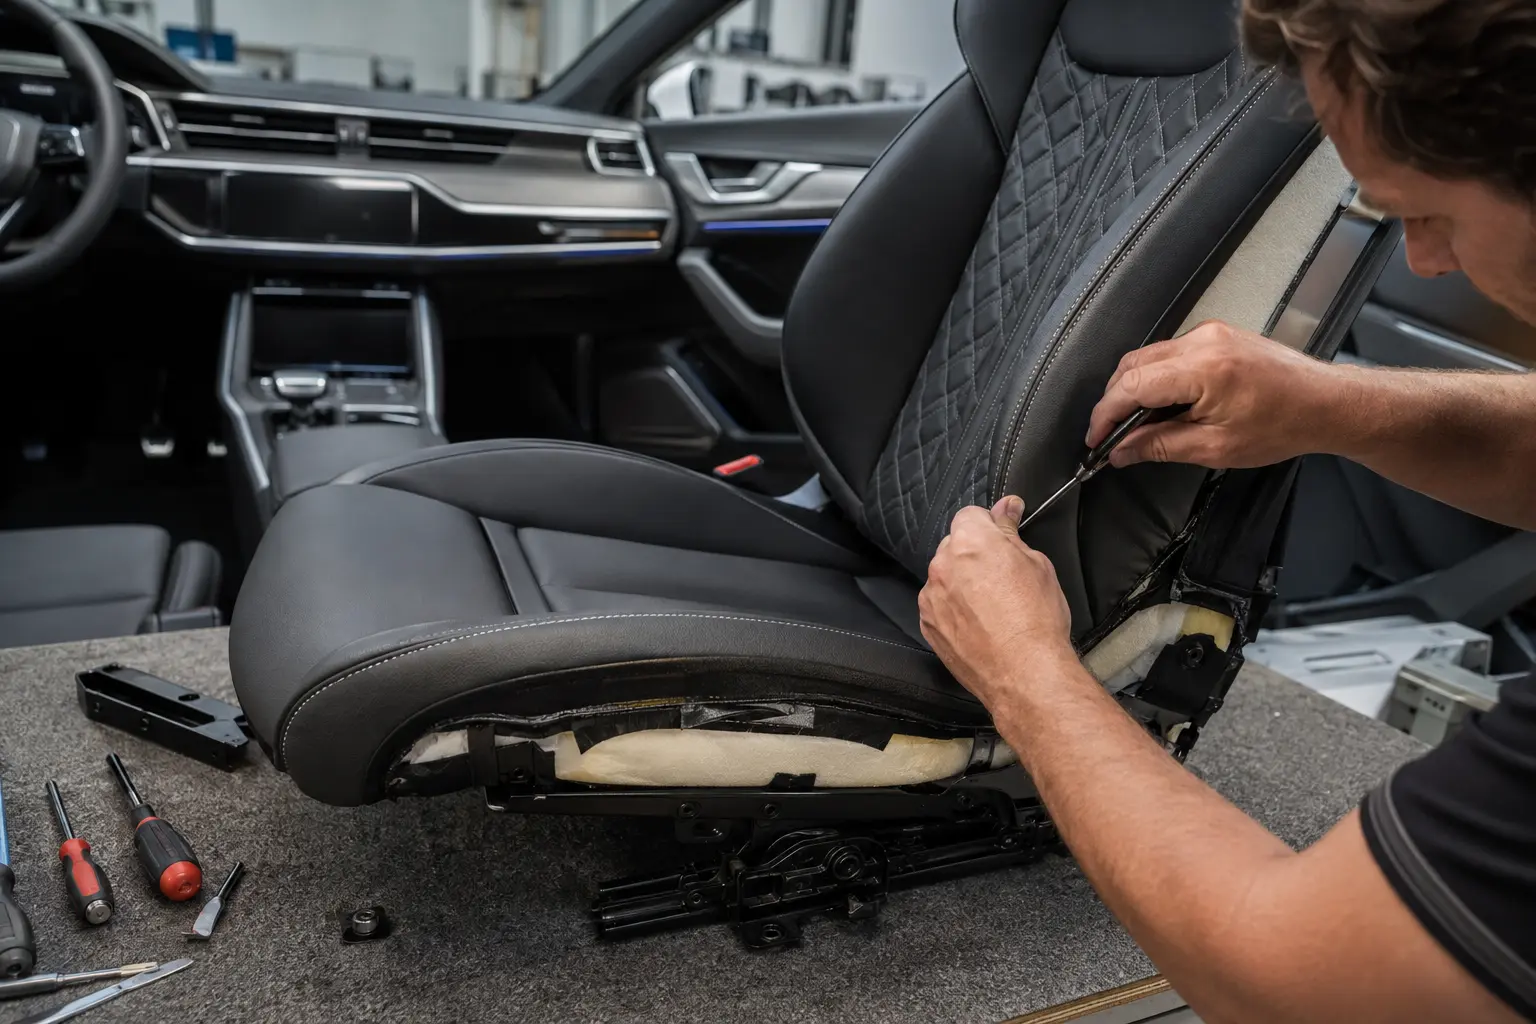

Modern Audi seats may combine shaped foam, heating elements, ventilation channels, occupancy sensing, electric motors, memory, massage functions and a side airbag. The exact installation must be identified before a cover is removed, stitched, coated or replaced.
Entry friction can remove coating, polish grain, stretch leather and compress foam. Determine whether the work is cleaning, coating repair, panel replacement or rebuilding support underneath.
Ventilation holes complicate filling and recoloring. Blocked perforations, overspray or heavy coating can change appearance and airflow. A sample sets a realistic finish to expect.
Record function before disassembly. Connector routing, element position, foam channels and final testing should be part of the same work order.
A restraint or seat-status message is not a cosmetic issue. Preserve codes and use the correct diagnostic procedure before trim work hides the original condition.
Do not copy ordinary stitching into a deployment zone. Approved cover, thread, seam and procedure requirements are safety-critical and may require official parts.
Confirm all positions, memory and noise before removal. Protect wiring and establish a safe battery procedure appropriate to the exact vehicle.
Cabin materials age differently according to sunlight, contact, cleaning and previous coatings. A code or supplier name is a starting reference, does not prove that a repair mix will disappear against the surrounding surface.
Clean a suitable test area using the intended method. Compare hue, lightness, saturation, grain and sheen after drying. View the sample straight on, from an angle and in daylight. Metallic or pearlescent exterior rules do not apply, but interior gloss variation can make an otherwise close color obvious.
A local repair is often most convincing when the damaged area is small, the substrate is stable and the finish can be feathered within a natural panel boundary. Large discoloration, deeply cracked material, repeated coating failure or a contrasting perforation pattern may justify replacing a panel or cover instead.
State the expected result in plain terms. “Improved and blended” is different from “factory-new.” Age, grain loss, stretched material and adjacent wear cannot always be erased without expanding the repair.
A hanging headliner often involves deteriorated foam backing rather than a simple loose edge. Heat can accelerate failure, while water entry or a previous roof repair can create a different problem. Pushing adhesive through the fabric may stain, harden or distort the visible surface without stabilizing the failed backing.
Inspect the full board, pillars, sun visors, handles, lamps, seals and sunroof opening. State which trim must move and how brittle clips will be handled.
Look for staining, odor, dampness, drain or seal history. Re-covering a wet or leaking area can hide the cause and damage the new finish.
Confirm stretch, foam thickness, color, grain, acoustic behavior and edge treatment. A near color can look different across a large roof plane.
Shades, rails, drains, seals, wiring and roof mechanisms require clear separation from the trim repair. Record operation before and after work, and stop if mechanical or water-management repair belongs to another specialist.
The work expands only after material and safety dependencies are known.
Record each material, damaged area, option and warning before cleaning.
Check cleaning response, coating stability, color and texture in a small area.
Choose local repair, stitched panel, replacement cover, foam work or retrim.
Control adjacent surfaces, connectors, airbags, mechanisms, dust and adhesive.
Review appearance, operation, remaining wear and care guidance at handover.
A close photo can support an initial direction, but it cannot reveal foam condition, previous coating, hidden fasteners or safety equipment. The written estimate should separate inspection, sample, removal, repair, replacement and reinstallation.
State the exact area, cleaning, preparation, color and coating area, plus realistic variation in grain or sheen.
List material, pattern, perforation, stitching, foam and any removal needed. Clarify whether adjacent panels remain original.
Include clips, adhesives, electrical tests and the response to concealed damage. Do not hide a possible additional approval inside labor.
Use the linked specialist page when the problem is not part of the upholstery repair.
Assess exterior panel shape, paint condition and minor-damage method.
Review dent repairUse the body-shop route when trim damage is connected to a door, pillar, roof, or repaired body panel.
Review body repairUse the AC repair page for cooling, vent-temperature and refrigerant concerns.
Review AC repairPreserve seat, restraint, roof and module warnings before upholstery access.
Review diagnosticsChoose cleaning rather than repair where the surface is structurally sound.
Review detailingSend wide and close photos for a trim-specific intake.
Request an appointmentThese scopes are illustrative quotations, not customer testimonials or fixed offers. The final total depends on inspection, material or parts choice and vehicle condition.
Customer request: Wear, cracking and color loss on the outer driver-seat bolster.
Work included: Seat-function check, protected removal where needed, localized surface preparation, leather repair, matched color finish and final inspection. Foam rebuilding and airbag-related work are separate.
Estimated quotation: AED 850
Customer request: Sagging headliner material around the rear cabin and panoramic-roof opening.
Work included: Trim protection, headliner-board removal, old material removal, suitable replacement material, adhesive application, refitting and final fit check. Sunroof mechanism repairs are separate.
Estimated quotation: AED 1,850
Customer request: Shiny, worn leather and damaged stitching on the steering wheel rim.
Work included: Control and heating check, protected removal, matched leather retrim, new stitching, refitting and function check. Switch, airbag and internal wheel repairs are separate.
Estimated quotation: AED 950
Compare the included work: The visible damage or symptom alone does not define every required part or preparation step. Send the model and main request so the quotation matches the vehicle.
Sometimes. The surface, coating, grain, cracking and foam must be inspected. Wear-through or structural damage may need a panel or cover rather than color alone.
Safety-critical seams must follow the correct supported specification. Ordinary upholstery stitching should never be improvised in a deployment area.
A small stable defect can blend well, but age, grain loss, stretching, perforation and sheen may remain visible. Approve a realistic sample first.
Spot adhesive can stain or harden fabric and may not fix failed foam backing. The roof area and cause should be inspected before choosing a method.
Send photographs showing location, texture, color and damage. Feasibility depends on substrate, finish, switches, lighting, clips and safety zones.
The source and affected layers must be identified. Cosmetic treatment cannot certify electrical safety or guarantee removal from saturated foam and hidden cavities.
No. Auto Repair UAE is independent. Warranty, official parts decisions, recalls and authorized records remain with Audi’s network.
Send the VIN, one wide cabin photo, close views in neutral light, damage dimensions, installed seat or roof options and every product already used.
Share the VIN, cabin overview, close photos, material, damage size, previous treatment and seat or roof options. We will confirm the next inspection or sample step.